(For a custom object)
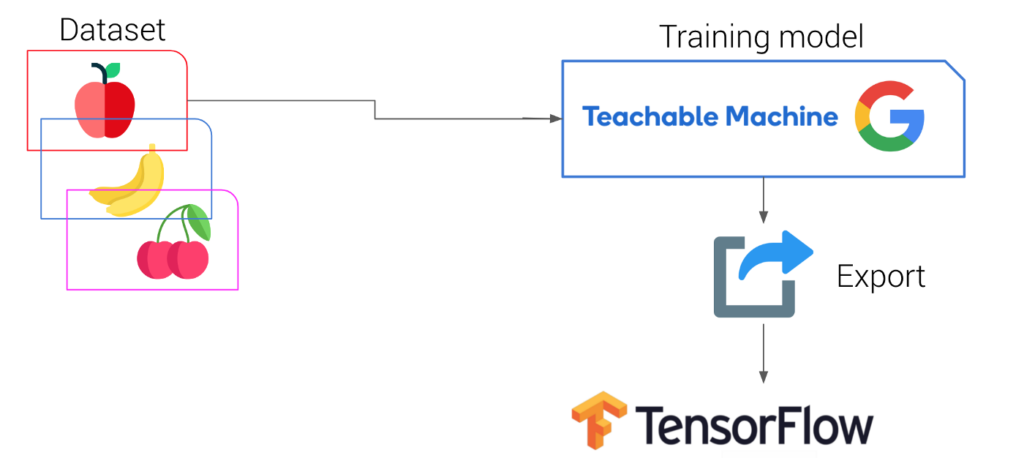
Objective: Train a Deep Learning model for custom object image classification using Teachable Machine, test it online, and finally export it into different formats to use in your projects.
Roadmap
- Collect the dataset of images.
- Open Teachable-Machine’s image project
- Train the model.
- Evaluate the model.
- Export the model.
Image classification or image recognition is a concept in which you showcase an image to the camera sensor of the device and it will tell you what is present in that image or tell us which class it belongs to.
In this tutorial, I will walk you through custom image classification by training a simple deep learning model with the help of an online tool by Google: teachablemachine with google, and then exporting the model to TensorFlow or other formats to use in your projects.
Model
The training platform used for training our custom image classifier is the teachablemachine with google. This is an exciting platform for learning the deep learning training process with just a few clicks. First, by uploading the different classes of objects from your system or using a webcam, then training it. Finally, after training, you can export the model of your choice. You can choose whatever format you want and download the model. I am training a model for mask image classification. This will be done in 5 steps mentioned in the section below:
- Upload your dataset
- Train the model
- Preview the model
- Testing the model using javascript
- Export the model
LET’S BEGIN !!
( But first ✅Subscribe to my YouTube channel ???????? https://bit.ly/3Ap3sdi ????????)
To start, go to Teachable-Machine site.
Objective: Train an image classification model using Teachable Machine.
You will find 3 videos there on how to upload your dataset, train your model and convert it to TFLite model. The process is fairly simple. Click on Get Started on the homepage and choose Image Project. You can also sign in using your google drive to save your model files otherwise you will lose all your images and model files if you close the tab or refresh the page.
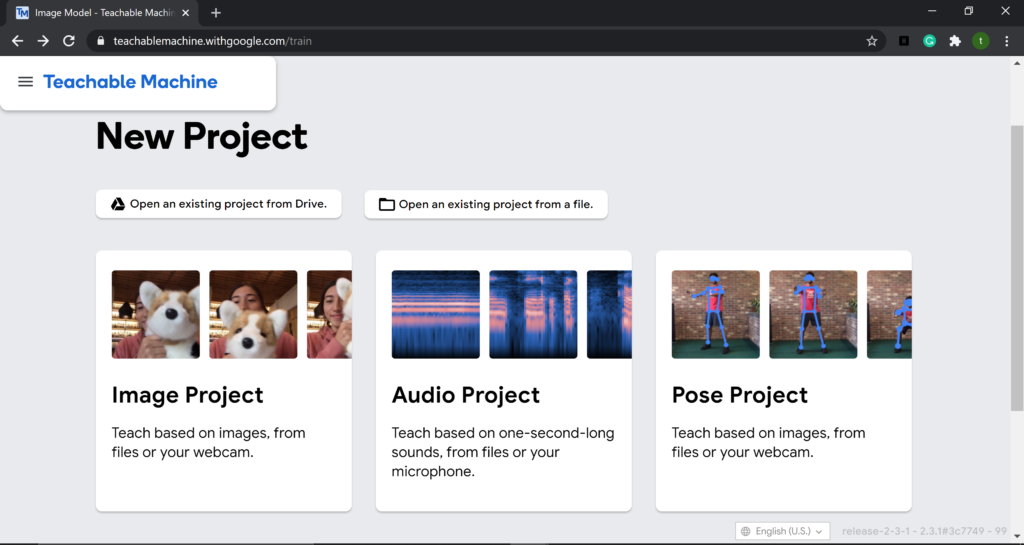
Step 1. Upload your dataset
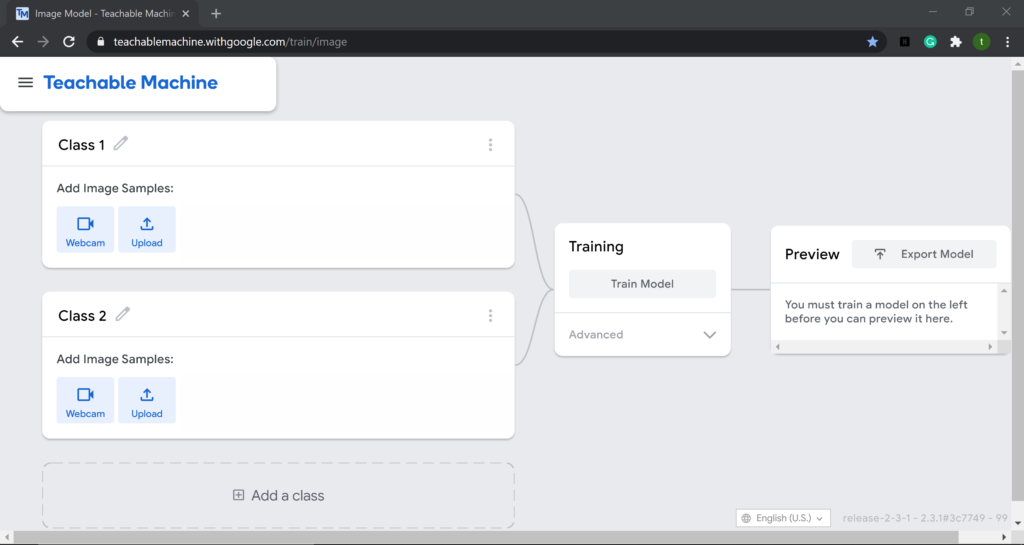
Create and upload the dataset to the teachablemachine and define the names of the classes accordingly. Here, I will train a model using Teachable Machine for mask image classification with 2 classes viz., “with_mask” & “without_mask”.
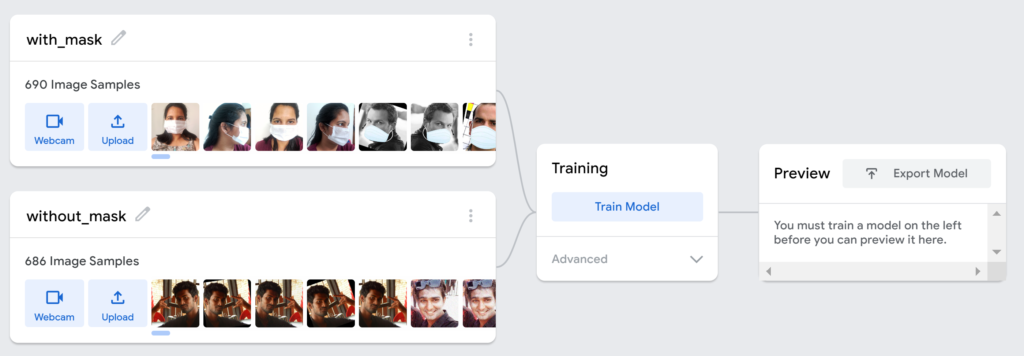
Step 2) Train the image classification model
During training, you can tweak the hyperparameters like:
- No of epochs
- Batch size
- Learning rate
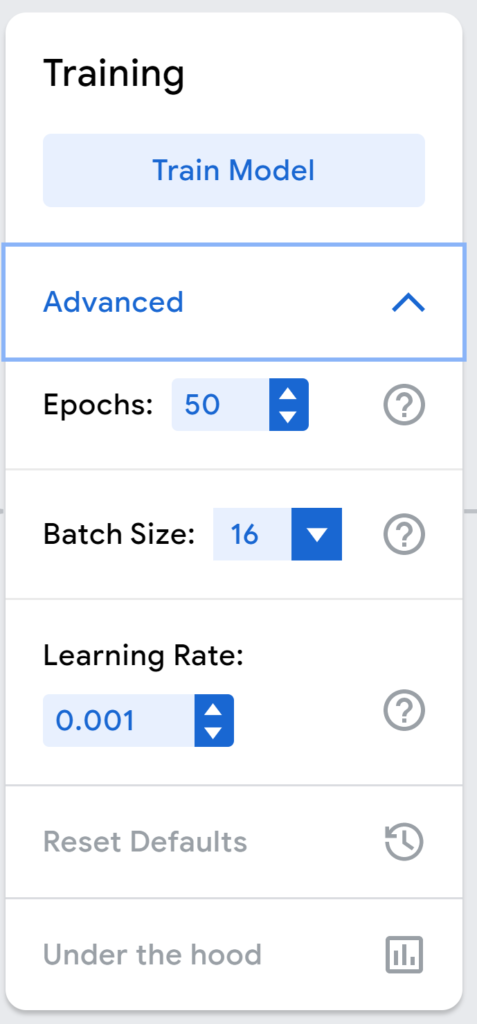
Click on Train Model after setting the values of the hyperparameters. This process will take a while depending upon the number of images and epochs.
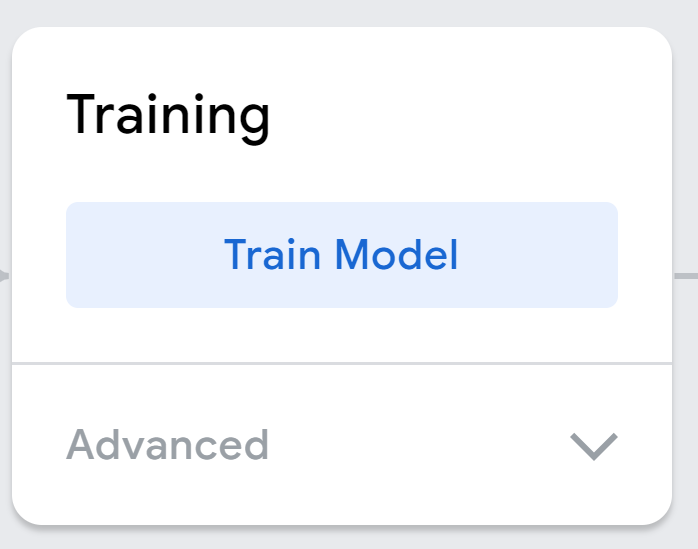
Important: During training, do not switch tabs as it will stop the training process.

Step 3) Preview your trained model
Once the training is over, you can preview your trained model in the preview window. You can either upload images to test or you can test using a webcam. See preview test results for both below.
USING WEBCAM
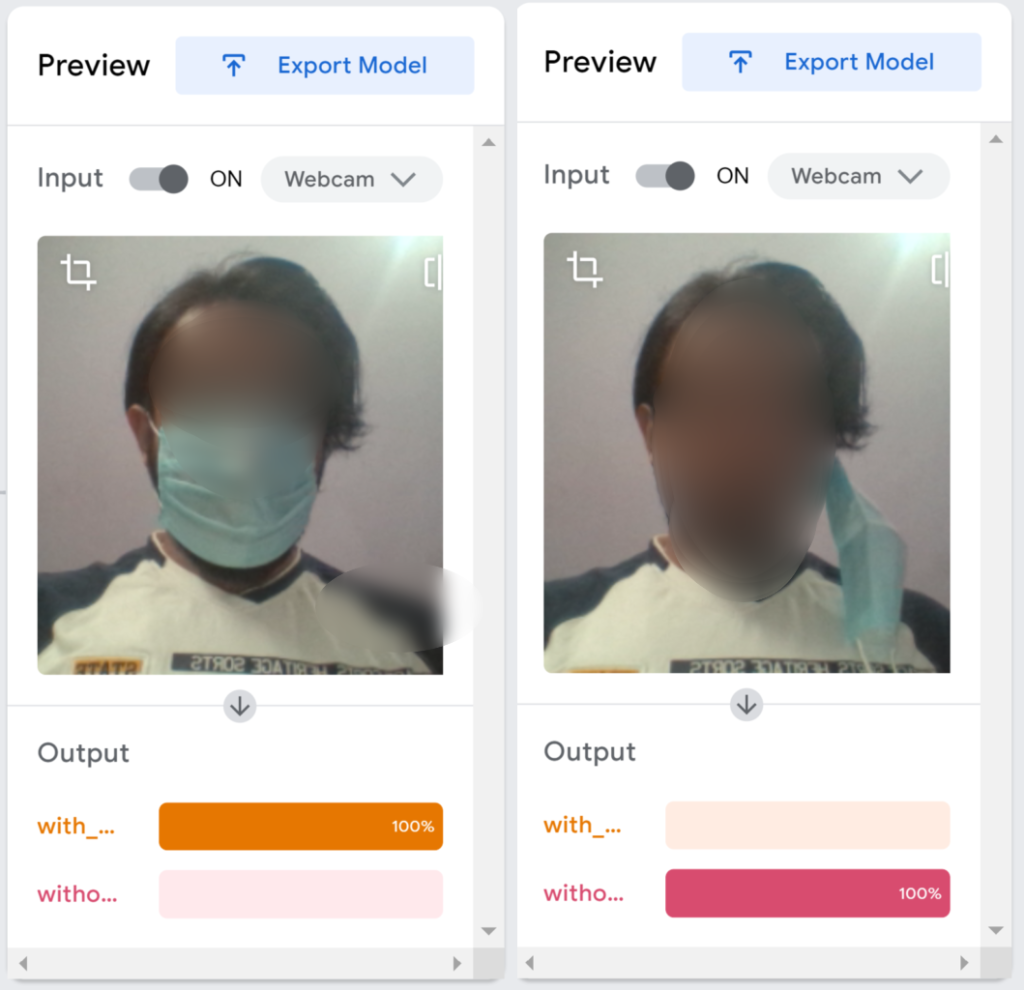
USING IMAGES
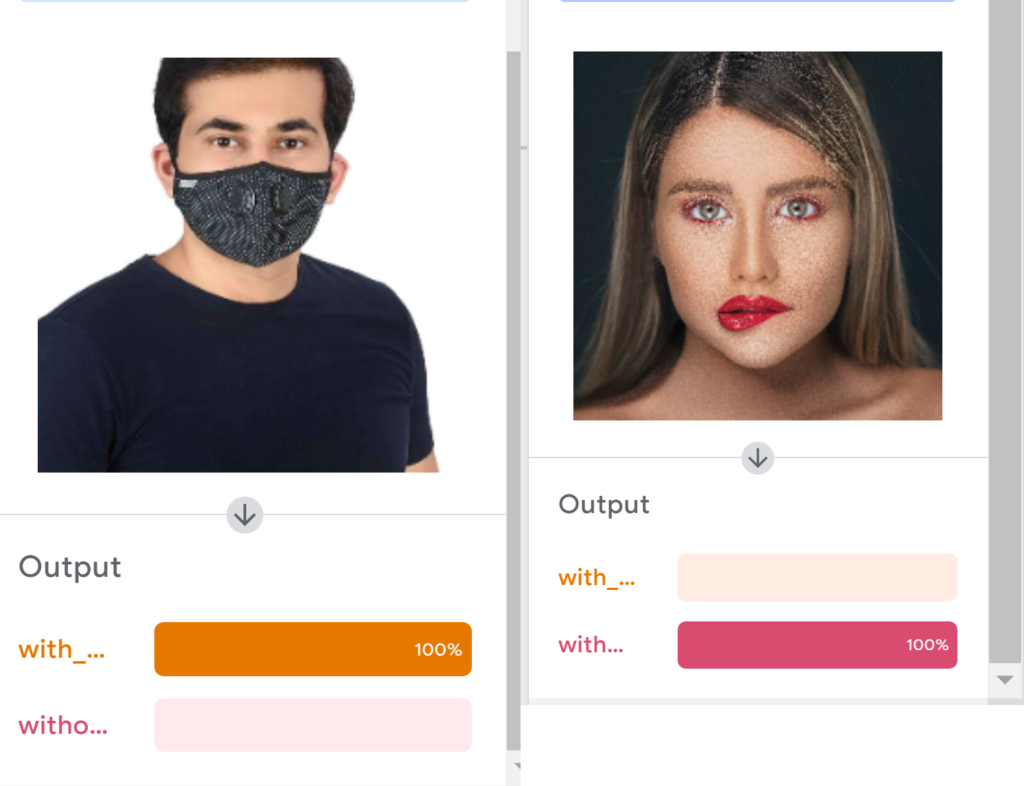
Step 4) Testing the model using javascript
You can use your model for browser-based projects using the javascript format.

First, click on the tensorflow.js tab and click on Upload my model. When you upload your model, Teachable Machine hosts it at the given shareable link for free. You can share that link with anyone if you’d like them to use your model—anyone who has that link can use your model in their projects. Note that your model is published to Google servers, but the examples you used to make the model are not. Just your model — the mathematical program that predicts which class you’re showing it.
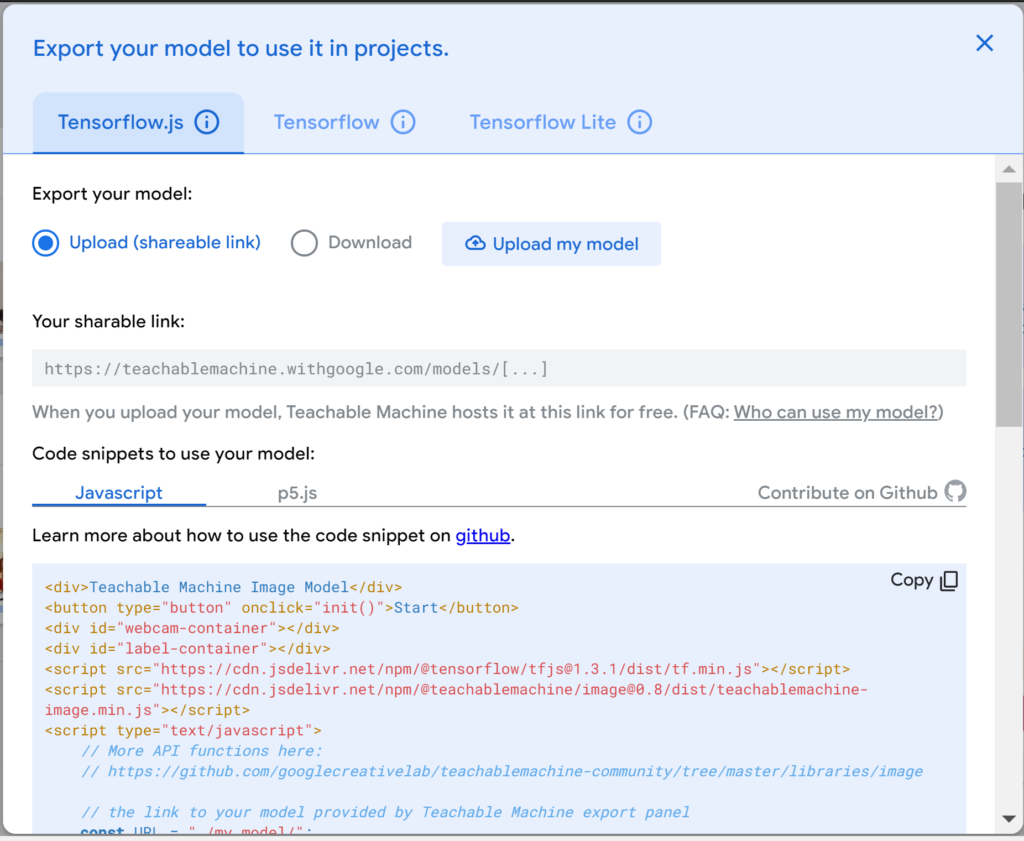
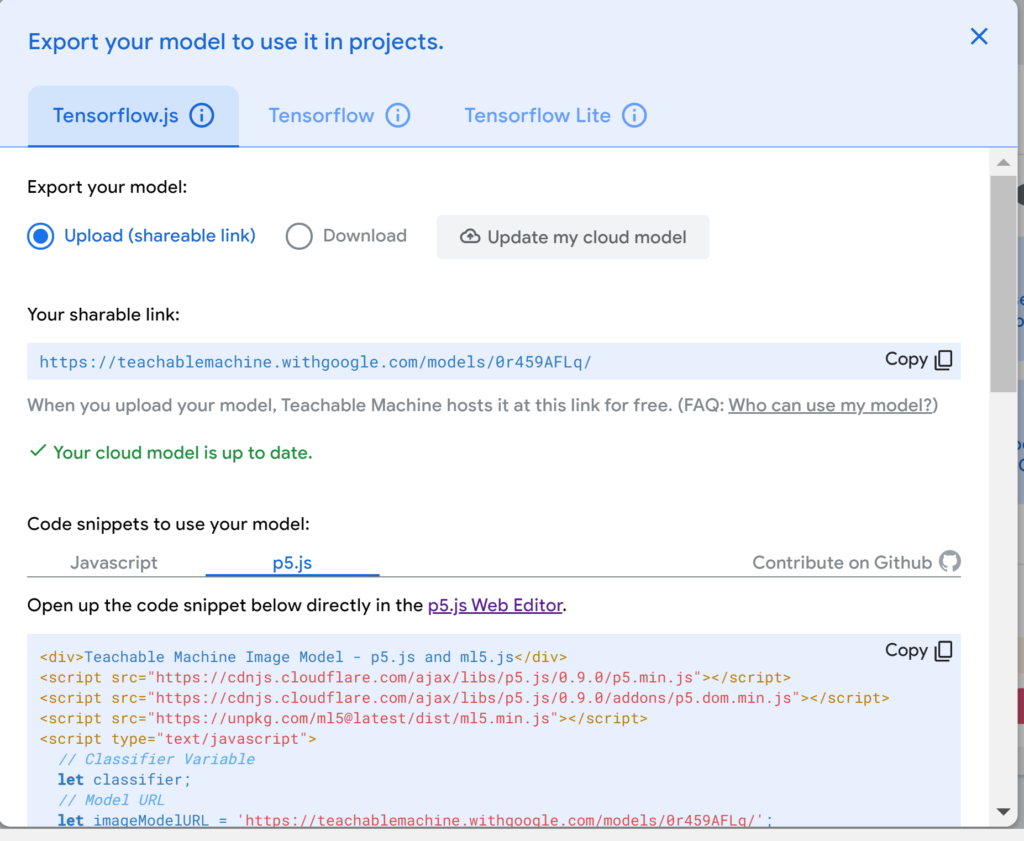
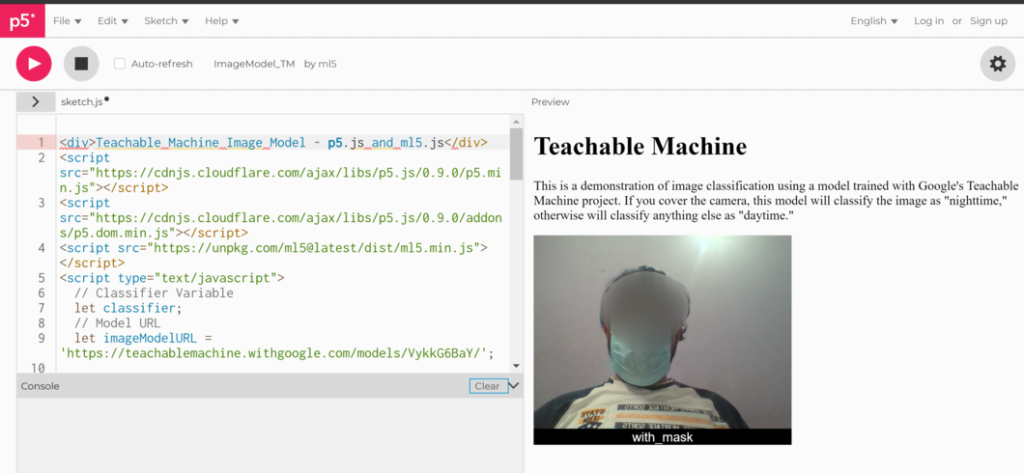
You can also test your model online using the p5.js web editor tool. The web editor for p5.js, is a JavaScript library with the goal of making coding accessible to artists, designers, educators, and beginners. To use it for your custom-trained model, select the p5.js code snippet tab and copy the code. Next, click on the p5.js Web Editor link shown in the pic below.
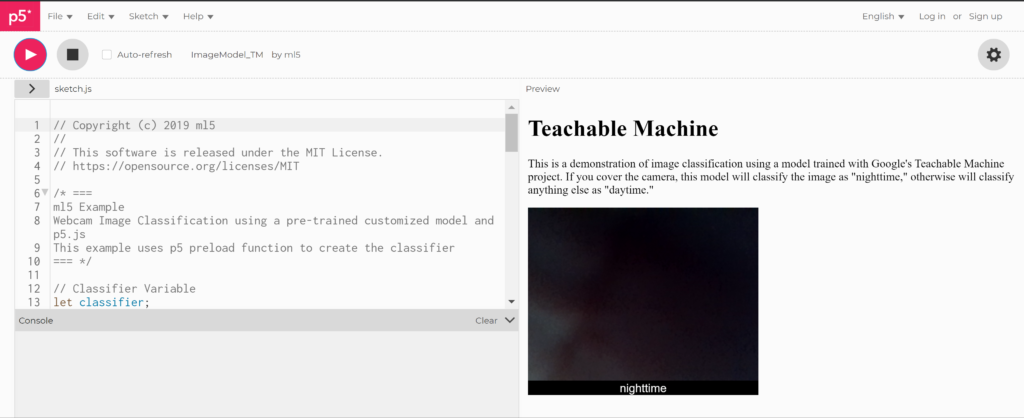
Once you open the p5.js web editor tool you will find the default code there for daytime and nighttime classification. Remove the entire old code and paste the new code you copied from your custom model’s p5.js code snippet and press play. Now, you can test your model using the p5.js web editor tool.
Step 5) Export the model
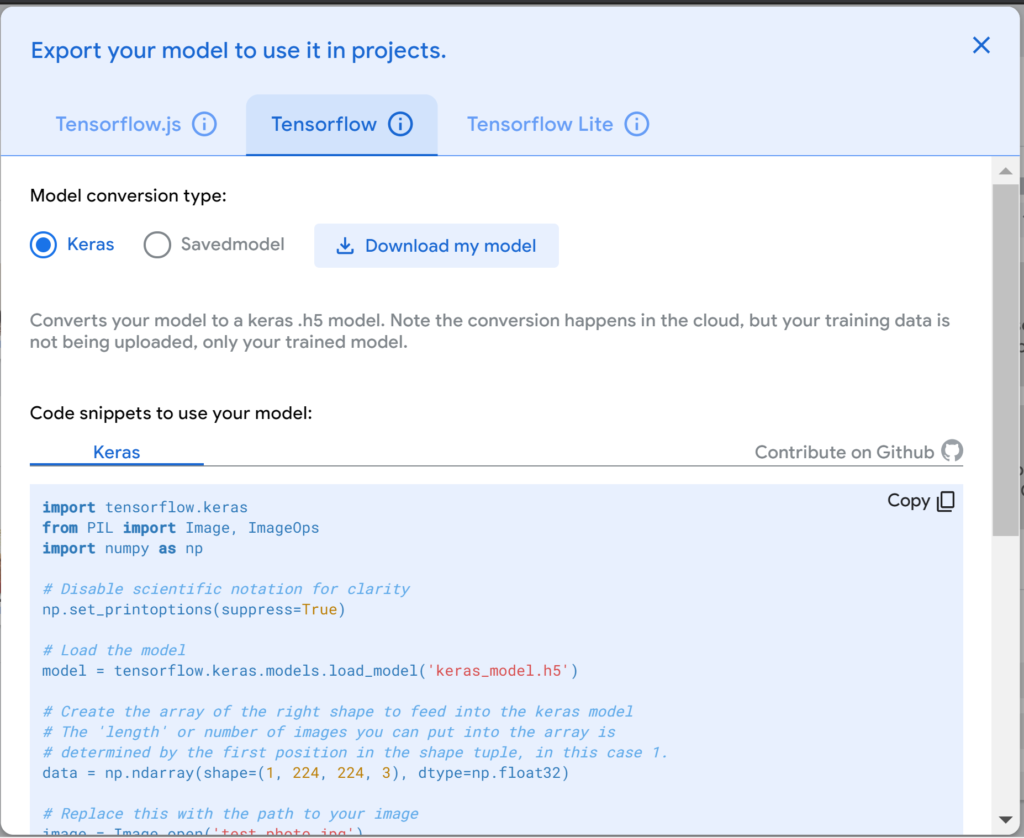
You can export the model in different formats to use with your projects such as Keras format (.h5) and the SavedModel format (.pb) file. Select the TensorFlow tab and choose the model type you want and click on Download my model. Once you have downloaded the model, you can use the code from the code snippets section to use these models in your projects. See pics below.
Mask dataset
Check out my Youtube Video on this
CREDITS
Documentation / References
- Tensorflow Introduction
- Tensorflow Models Git Repository
- TensorFlow 2 Classification Model Zoo
- TensorFlow Lite sample applications
- TensorFlow Lite image classification Android example application
- Tensorflow tutorials
Next Tutorial
How to build an app using Teachable Machine
Build app using Teachable-Machine

